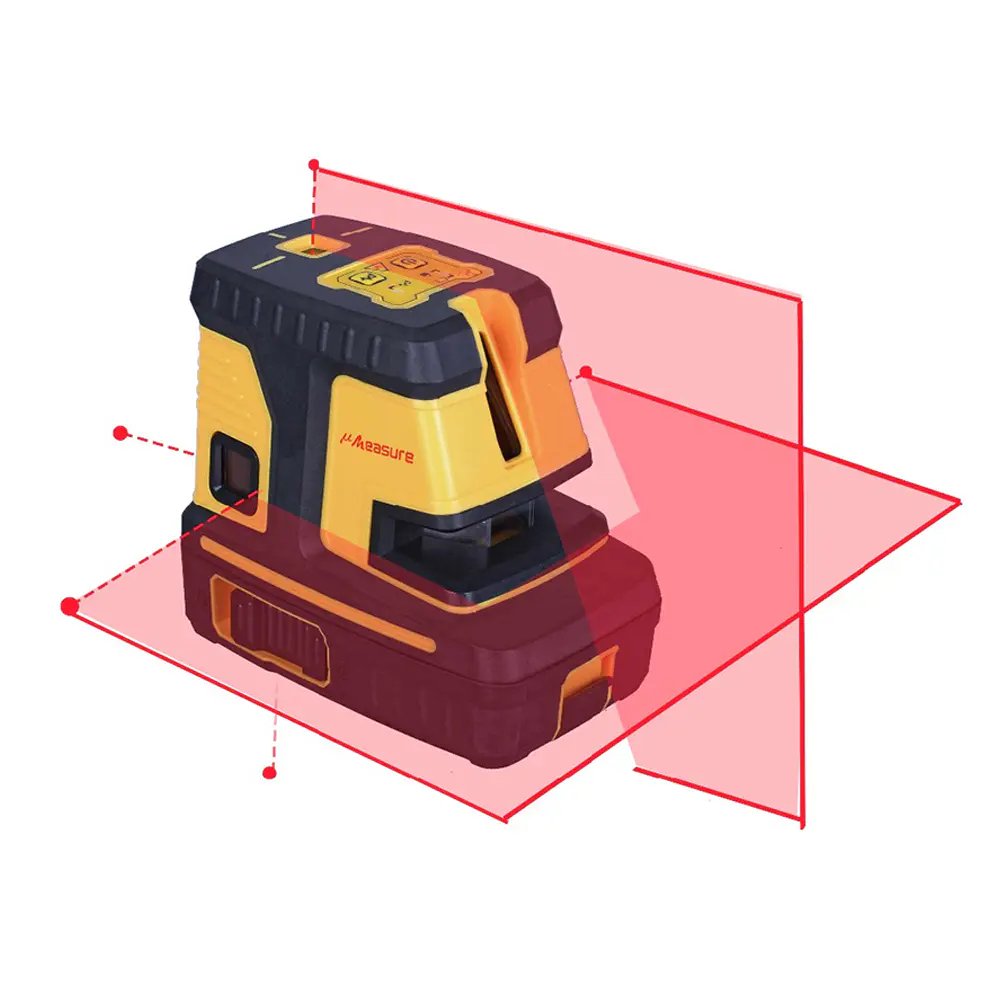
An effective way to create a flat surface for a ceiling drywall is to install a "bundle" on the support beam and then fix the drywall on the bundle.Installed correctly, 1-by-3-Inches spruce or pine bundles run perpendicular to the direction of the ceiling support beam.Tied to the bottom of the beam, at 16-Every inch, across the width of the ceiling.Individual strapping helps to eliminate the height difference between the beams, while the low light level above the strapping or planing lower beams can solve the significant difference.Measure along the length of the end support beam adjacent to the wall and mark it at 14 points.75 inches.Nail a nail in the middle of the beam at the mark.Hook the end of the tape measure to the nail and mark the support beam every 16 inch along the length of the room.Remove the nail when marking all measurements.Mark the end pallet opposite the room in the same way.Use the chalk line to create a line that extends from one marked beam to the other.Draw a line at each pair of opposite marks.The binding of the chalk line layout uses a one-month score --inch-on-center layout.The center of each strapping board is 16 inch from the center of the adjacent strapping board.Measured on a ceiling beam of 90 degreesdegree angle.Make sure that the end of each bundle board falls in the center of the pallet.Cut the first plate with a saw to fit the measurement.Install the first bundle-The board on the ceiling beam, against the wall, through the beam.Use a hammer or gas nail gun to nail the strapping plate on each pallet with two 10-day nails.Install the strapping plate on the support beam of each chalk line.When you install the bundle on the ceiling, position the edge of the bundle Board along each chalk line.This will remain 16-inches-on-Central layout for drywall installation.Install the last line of bundles on the wall opposite the room.The binding plate of this line will be less than 16-inches-on-Center, but it is necessary to fix the drywall on the ceiling next to the wall.When you cross the room, check the level of the baling board and nail the baling on the pallet.Use an 8-Before putting the strapping nail in place, fix it on the strapping board you are installing.Another option is to set the laser level running under the bundle;From the laser line measurement to the binding to measure the height of the intersection of each beam.If the pallet is higher or lower than the adjacent pallet, please correct it before placing the strapping nail in place, as shown below.When the support beam is higher than the adjacent support beam, the gap between the lower side of the bundle plate and the support beam is measured.Use a gasket material or plywood measuring the same thickness as the clearance and cut at least 1 1/2 of the workpiece 3-inches.By nailing the binding and gasket to the support beam, the gasket material is installed between the binding and the support beam.The plane puts down any support beam below its adjacent support beam-Remove excess beam material by handPlease keep the power planing bed before you put the strapping nails in place.After the aircraft support beam, check the level of the binding and make sure that the binding is horizontal on the support beam.Only the material needs to be removed from the low suspension pallet where the strapping plate passes through the pallet.By tying the bundle to the adjusted pallet, the bundle is mounted to the adjusted pallet.Use two 10-day nails at the intersection of the bundle and the pallet.